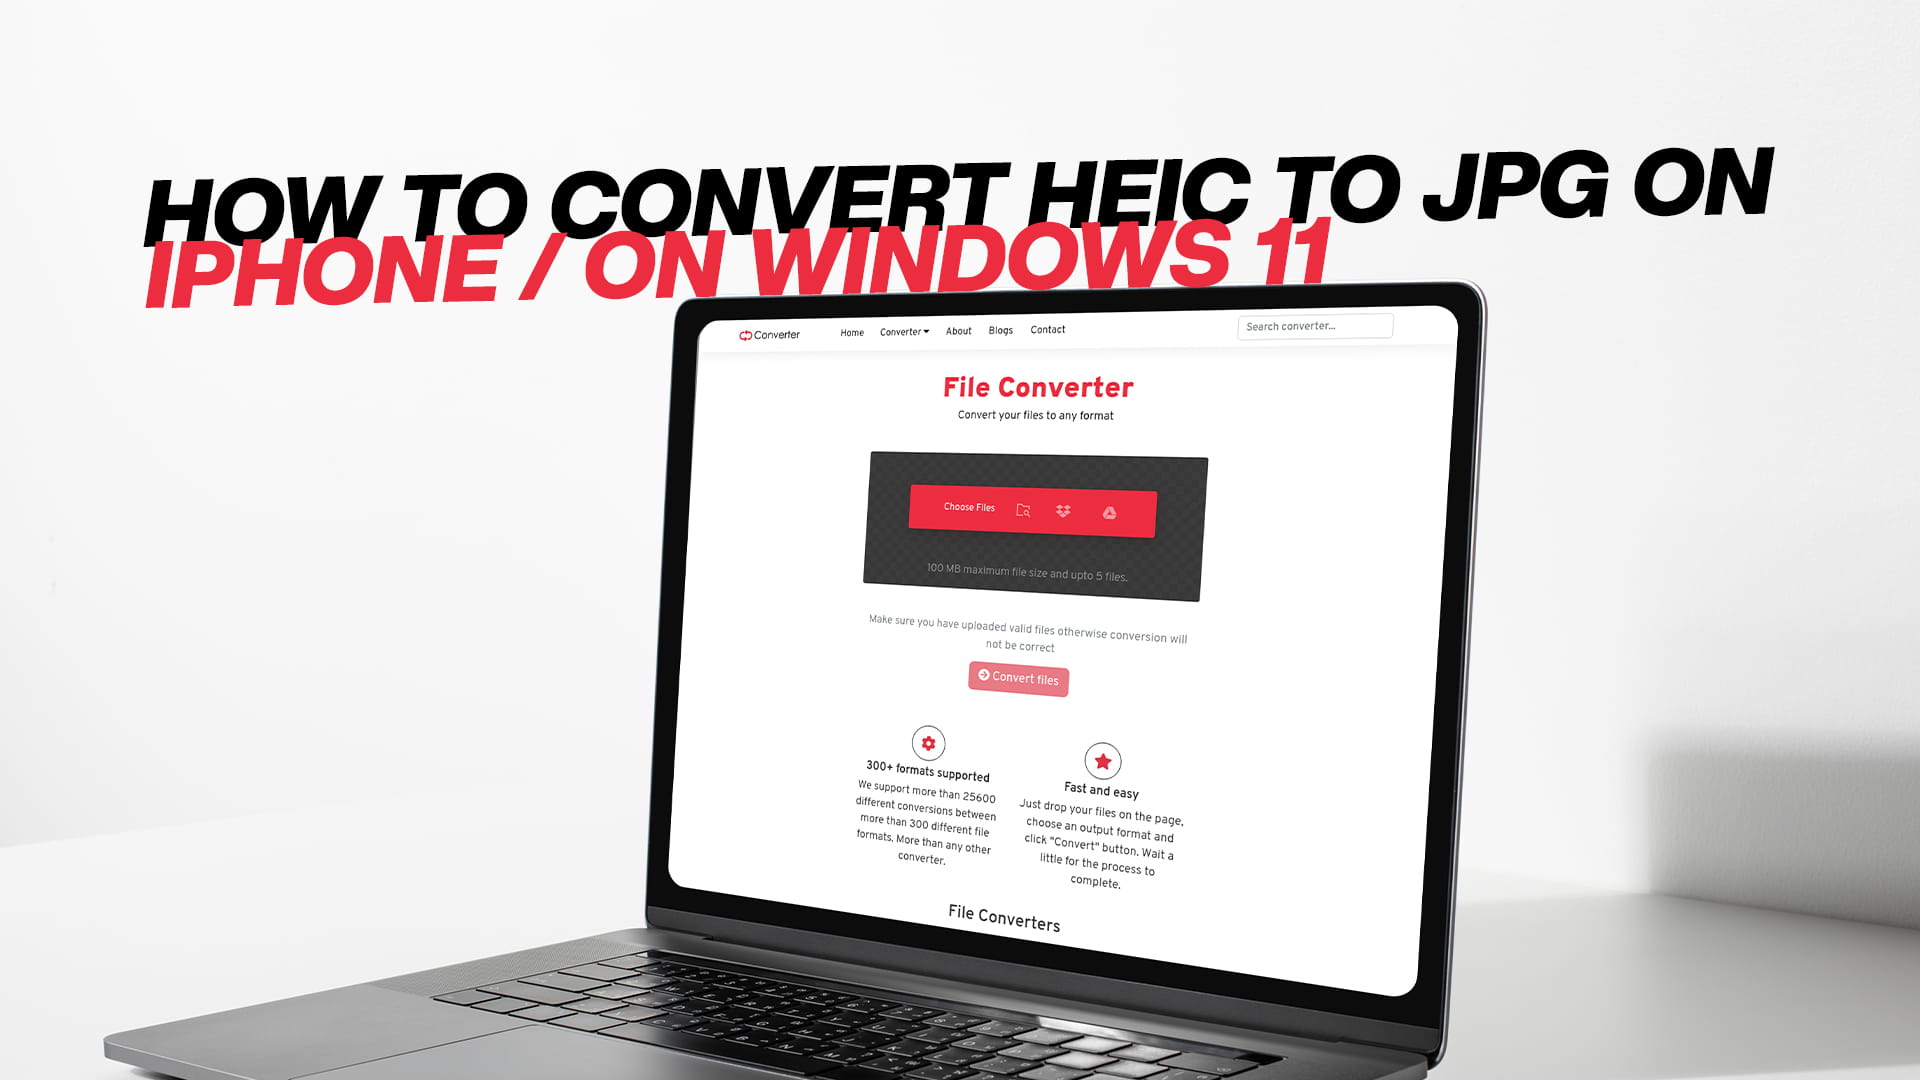
How to Convert HEIC to JPG on iPhone / on Windows 11
If you've ever tried to open an iPhone photo on a Windows PC or share it with a non-Apple user, you've probably run into a frustrating moment: the image either won't open or throws an error saying the format isn't supported. That file is almost certainly a HEIC — Apple's default photo format since iOS 11.
HEIC (High Efficiency Image Container) is a brilliant format for saving space on your iPhone. It compresses photos to roughly half the size of a JPG with no visible quality loss. But that efficiency comes at a cost: compatibility. HEIC doesn't play well with Windows applications, most web platforms, print services, or older editing software. If you need to share your photos outside the Apple ecosystem, you need to convert them to JPG first.
This guide walks you through every reliable method to convert HEIC to JPG — both on iPhone directly and on Windows 11 — so you never get stuck with an unopenable photo again.
What Is HEIC and Why Does iPhone Use It?
HEIC stands for High Efficiency Image Container. It's Apple's branded version of the HEIF (High Efficiency Image File Format) standard, and it uses the same compression technology behind HEVC video (H.265). Apple introduced it as the default camera format on iPhones starting with iOS 11 in 2017.
The appeal is simple: HEIC photos take up about 50% less storage than equivalent JPEG images without sacrificing visual quality. On a 64GB or 128GB iPhone, that difference adds up fast — especially for users who shoot dozens of photos every day.
HEIC also supports advanced features like Live Photos (a still image bundled with a short video clip), Portrait Mode depth data, and HDR content — capabilities that JPG simply cannot store in its aging container format.
The problem arises the moment you move those photos off your iPhone. Windows 11 requires a paid codec to open HEIC natively, most web upload forms reject the format, and email services may strip or fail to render HEIC attachments. That's exactly why knowing how to convert HEIC to JPG is a genuinely useful skill in 2025.
How to Convert HEIC to JPG on iPhone
The easiest fix is to stop your iPhone from creating HEIC files in the first place — or to have it automatically convert photos to JPG whenever you share or transfer them. Here's how to do both.
Method 1: Change iPhone Camera Settings to Shoot in JPG
If you'd rather just shoot in JPG from the start, you can change your iPhone camera format setting permanently.
Go to Settings on your iPhone, then scroll down and tap Camera. Select Formats, and you'll see two options: High Efficiency (HEIC) and Most Compatible (JPG). Tap Most Compatible.
From this point forward, every photo your iPhone takes will be saved as a JPG file. The tradeoff is that photos will take up roughly twice as much storage space, but you'll never deal with compatibility issues again.
This option is best for users who regularly share or work with photos on Windows computers or upload them to websites that don't accept HEIC files.
Method 2: Automatically Convert to JPG When Transferring to a PC
If you want to keep shooting in HEIC for storage efficiency but still get JPGs when you connect your iPhone to a Windows computer, iOS has a built-in transfer setting for that.
Open Settings, tap Photos, and scroll down to the Transfer to Mac or PC section. Tap Automatic. With this setting, iOS will automatically convert HEIC files to JPG when you transfer them via USB to a computer. If you tap Keep Originals, the HEIC files transfer unchanged.
This is one of the most convenient options for iPhone users who frequently back up or import photos to Windows 11 machines.
Method 3: Use an Online Converter on iPhone
If you already have HEIC files on your phone and need to convert specific images without changing any settings, an online converter is the fastest solution. Convertio's free Image Converter works directly in your mobile browser — no app download required.
Open Safari or Chrome on your iPhone, visit the converter, upload your HEIC photo, select JPG as the output format, and download the converted file within seconds. The process is entirely browser-based, works on any iPhone model, and requires no account or installation.
This method is especially useful for one-off conversions when you need to quickly share a photo with someone on a different platform.
How to Convert HEIC to JPG on Windows 11
Windows 11 doesn't natively support HEIC without a codec, but there are several reliable ways to convert your iPhone photos once they're on your PC.
Method 1: Use a Free Online Converter (No Installation Needed)
The quickest and most accessible method for Windows 11 users is a free online converter. You don't need to install anything, and the conversion takes just a few seconds. As explained in Convertio's guide on converting files to any format, all you need is a browser and an internet connection.
Here's how to convert HEIC to JPG online:
Open your browser and go to convertio.info/image-converter/. Click the upload button and select your HEIC file — or simply drag and drop it onto the page. You can also import directly from Google Drive or Dropbox. Once uploaded, select JPG as the output format. Click Convert and wait a few seconds. When it's done, click Download to save your JPG.
Convertio processes files entirely on secure cloud servers, which means your computer's performance is unaffected during conversion. Files are automatically deleted from the servers after conversion, so your photos stay private.
This method works for single files and batches alike, and it's available on any Windows 11 machine — even on low-spec laptops or Chromebooks.
Method 2: Install the HEIF Image Extensions (Microsoft Store)
Microsoft offers a free codec through the Microsoft Store called HEIF Image Extensions. Once installed, Windows 11 can open and view HEIC files natively in Photos, File Explorer thumbnails, and most Windows apps.
To convert HEIC to JPG using this method, first install the HEIF Image Extensions from the Microsoft Store (search "HEIF Image Extensions"). Once installed, open your HEIC file in the Windows Photos app. Click the three-dot menu at the top right, select Save as, and choose JPEG as the file format.
This method is ideal if you frequently work with HEIC files and want a permanent, offline solution built into Windows. The main limitation is that it's a one-file-at-a-time process, which can be tedious if you need to convert dozens of photos.
Method 3: Use Paint or Photos App to Re-Save as JPG
Once you have the HEIF codec installed (or if Windows already opens your HEIC file), you can use the built-in Paint app for a quick re-save.
Open the HEIC file in Paint (right-click → Open with → Paint). Go to File → Save as → JPEG picture. Choose your save location and click Save.
This is a manual, one-by-one method — not ideal for large batches — but it requires nothing beyond what comes pre-installed on Windows 11.
Method 4: Batch Convert Multiple HEIC Files Online
If you've transferred a full camera roll of HEIC photos and need all of them converted at once, a batch converter is your best friend. As covered in Convertio's breakdown of the best file converters, you can upload multiple files at once and download them all in a single ZIP archive.
On the Convertio image converter page, click the upload area and select multiple HEIC files at once (or use Ctrl+Click to select several files in the dialog). All files will be queued for conversion. Select JPG as the output, convert, and download the entire batch.
This approach saves significant time compared to converting images one by one, particularly when dealing with a recent iPhone photo dump or a vacation album.
Method 5: Use the IrfanView Desktop App
IrfanView is a free, lightweight image viewer for Windows that supports HEIC (with the HEVC plugin) and can batch convert entire folders of photos to JPG.
Download IrfanView from irfanview.com and install the full plugin pack. Open IrfanView, go to File → Batch Conversion/Rename, select your HEIC files, set the output format to JPG, choose your output folder, and click Start Batch. IrfanView will convert all selected files instantly.
This is the best offline option for users who regularly process large photo libraries without relying on internet access.
Why JPG Still Matters in 2025
You might wonder why you'd ever convert away from a technically superior format like HEIC. The answer comes down to real-world compatibility. JPG has been the universal standard for photographic images for over 30 years. Every device, browser, operating system, social media platform, printing service, and photo editing application on the planet supports JPG without any configuration.
While HEIC is gaining traction — especially in Apple-centric workflows — JPG remains the most practical format for sharing, uploading, and publishing photos in everyday life. When in doubt, JPG works everywhere.
Beyond compatibility, JPG is also the better choice when you need to compress images for the web. If you're a content creator, blogger, or web developer, keeping file sizes low is essential for page speed. After converting your HEIC photos to JPG, you might want to reduce them further using Convertio's dedicated JPG Compressor, which lets you shrink JPEG file sizes without sacrificing visible quality.
Tips for Better HEIC to JPG Conversions
Getting a great JPG from a HEIC source isn't just about clicking convert — a few smart habits will ensure the best results every time.
Start with the highest-quality HEIC source you have. Conversion doesn't improve image quality — it can only preserve it or reduce it. If your original HEIC is blurry or badly lit, the JPG will be too.
Avoid converting the same image multiple times. JPG uses lossy compression, meaning each time you re-save a JPG, it loses a little more quality. Convert from the original HEIC once and keep that JPG as your master copy.
Use cloud storage to your advantage. If you're working between an iPhone and a Windows PC, you can upload HEIC files from your iPhone to Google Drive or Dropbox and then pull them into an online converter without ever needing a USB cable.
Check file size after conversion. A converted JPG from an iPhone 15 Pro photo can still be several megabytes in size. If you're uploading to a website or emailing the photos, consider running them through an image compressor after conversion to keep things manageable.
Converting Other File Formats Too
Once you're comfortable converting images, you might find yourself needing to handle other file types just as easily. Convertio supports not just images but also audio, video, documents, PDFs, eBooks, software files, and compressed archives — all without requiring any software installation. You can read more about the full range of supported formats in this article on using a device converter for online file conversion.
Whether you're converting a Word document to PDF, transforming an MP4 into an MP3, or turning a ZIP archive into a different compression format, the same simple three-step process applies: upload, select your output format, and download.
Summary
Converting HEIC to JPG is one of those small but genuinely useful skills for anyone who uses an iPhone alongside a Windows PC. Here's a quick recap of your best options:
On your iPhone, you can change the camera format to shoot directly in JPG, enable automatic conversion during transfers, or use a browser-based online converter for quick one-off jobs.
On Windows 11, the fastest and most universal method is using a free online image converter like the one at Convertio — no installation, no codec downloads, and it works on any machine. For frequent offline use, installing the HEIF Image Extensions from the Microsoft Store or using IrfanView for batch jobs are both solid choices.
Whichever method fits your workflow, the goal is the same: keeping your photos accessible, shareable, and compatible everywhere you need them.